Securely And Directly Connect Raspberry Pi IP Address - A Simple Guide
Getting your small computer, the Raspberry Pi, to talk to your main computer can feel like a bit of a puzzle. You want to make sure it connects right away, and that no one else can listen in on what you are doing. This is important for many reasons, like when you are working on a project or just checking on your little device. Finding a simple way to make this happen, without a lot of fuss, is something many people look for. It is almost like having a secret handshake with your computer.
There are times when you need to reach your Raspberry Pi directly. Maybe you set it up in another room, or perhaps it is part of a bigger system. You do not want to go through extra steps or worry about someone else getting access. Having a way to connect straight to its address, the IP address, makes things much smoother. This kind of connection lets you send commands, move files, and basically control your Pi from afar, which is really handy, you know?
This article will talk about how to get that direct link going. We will also cover how to keep that connection safe from unwanted eyes. You will learn about the simple steps to set things up, and what tools can help you along the way. We will also touch on what to do if things do not quite work out the first time. The goal is to help you feel good about reaching your Raspberry Pi, making sure your work stays private and runs without a hitch, so.
Table of Contents
- Why Connect to Your Raspberry Pi Directly?
- Finding Your Raspberry Pi's IP Address
- How Can You Securely Access Your Pi?
- Setting Up a Secure Connection to Your Raspberry Pi
- What Tools Help Make a Direct Connection?
- Keeping Your Raspberry Pi Connection Safe
- Is Direct Access Always the Best Way?
- What If Your Raspberry Pi's IP Address Changes?
Why Connect to Your Raspberry Pi Directly?
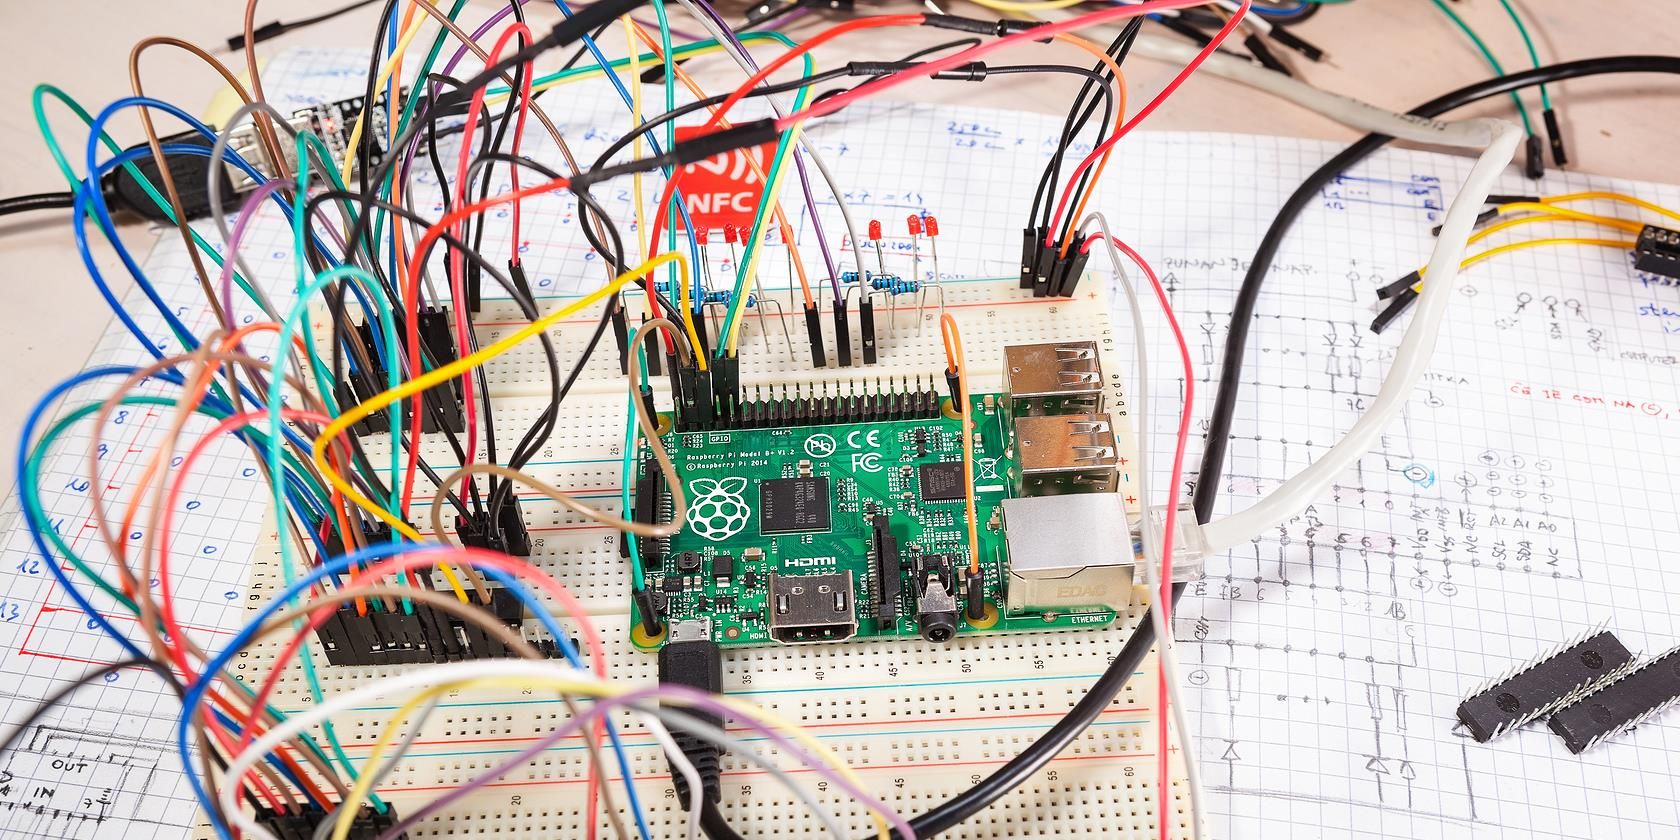
Connecting to your Raspberry Pi directly gives you a lot of freedom. You can put your Pi almost anywhere, like in a garden to monitor plants, or in a workshop to control tools. You do not need a screen, keyboard, or mouse plugged into the Pi itself. This means your Pi can sit in a corner, doing its job, and you can still check on it from your main computer. It is like having a little helper that works on its own, but you can still give it instructions whenever you need to. Many people find this way of working very convenient, you know.
When you connect directly, you are usually talking to the Pi over your home network. This is often faster than going through other services. It means commands you send get to the Pi quickly, and any information the Pi sends back comes to you without much delay. For projects that need quick responses, this direct link is quite helpful. It also means you are not relying on outside internet services, which can sometimes slow things down or even stop working. So, for a project that needs to be reliable, a direct connection is a good choice, in a way.
Think about a time you needed to fix something on your Pi, but it was in a hard-to-reach spot. If you had to physically go to it, plug in a screen, and then type things, it would take time. With a direct connection, you just open a program on your main computer, type a few things, and the Pi listens. This saves a lot of effort and makes managing your Pi much simpler. It is especially useful if you have more than one Raspberry Pi, as you can manage them all from one spot. This approach makes life a little easier, honestly.
This method also helps keep your Pi working even if your internet connection goes out. As long as your home network is running, you can still talk to your Pi. This is a big plus for things like home automation systems or local servers. You want those things to keep working no matter what happens with your internet provider. So, a direct connection gives you a lot of control and makes your Pi projects more dependable. It is definitely something to consider for any serious Pi user, basically.
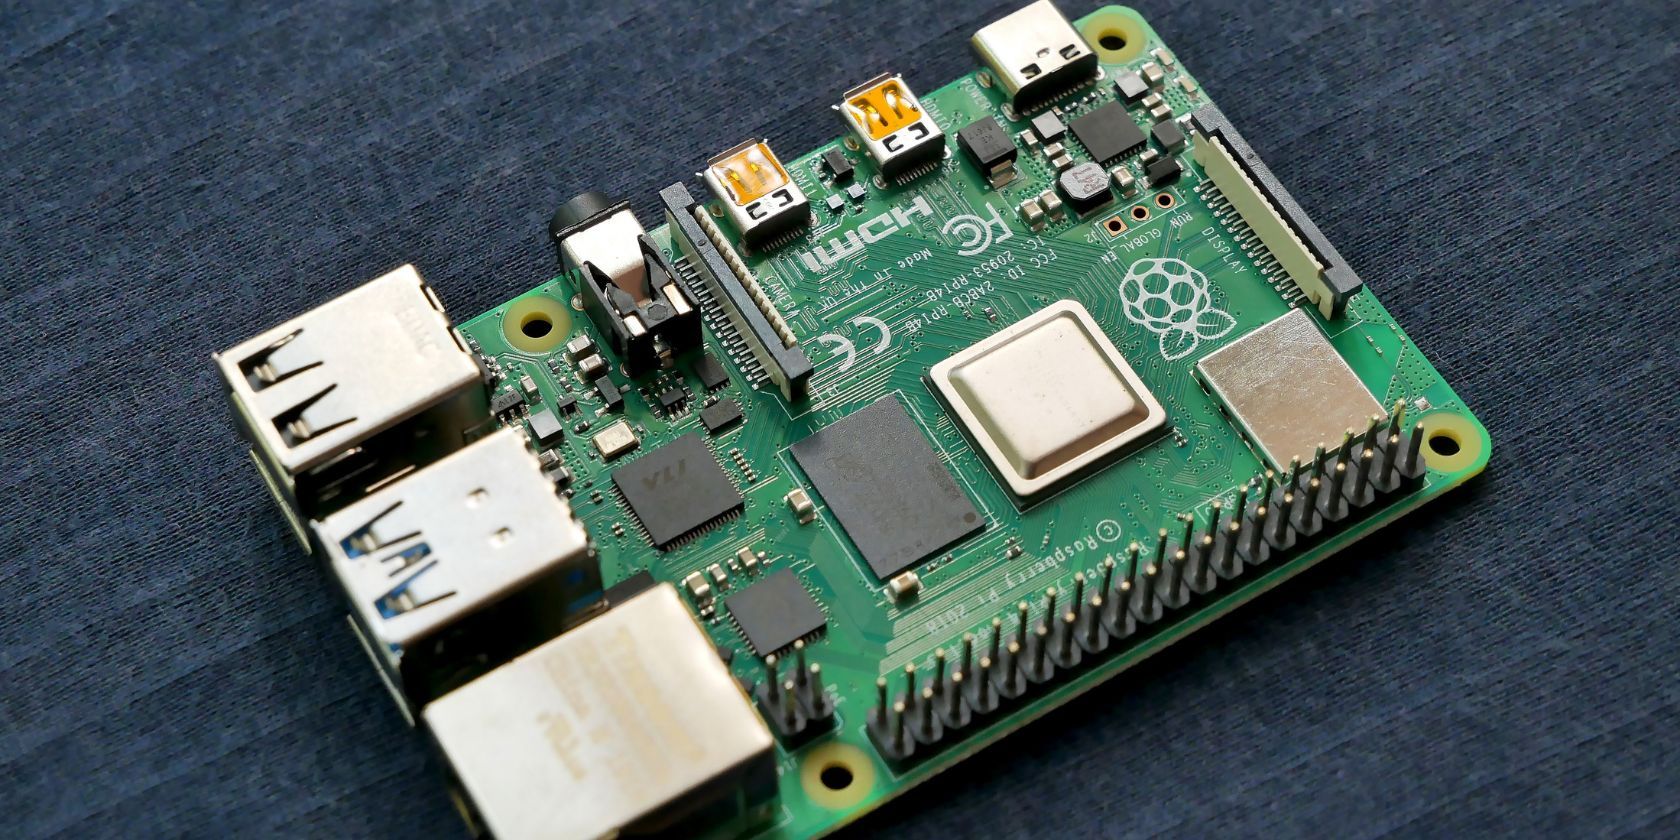
Finding Your Raspberry Pi's IP Address
Before you can connect to your Raspberry Pi, you need to know its unique address on your network. This is called an IP address. It is like a house number for your Pi, telling your main computer where to send its messages. There are a few simple ways to find this number. One common way is to look at your router's settings. Your router is the device that gives all your home gadgets their internet connection and network addresses. You can usually log into your router's control panel through a web browser, so.
Once you are in your router's settings, look for a section that shows connected devices or a list of clients. Your Raspberry Pi should appear there, usually with a name like "raspberrypi" or something similar. Next to its name, you will see a series of numbers separated by dots, like 192.168.1.100. That is your Pi's IP address. Write this number down, as you will need it to connect directly. This method is pretty reliable, and it gives you a good overview of everything connected to your network, too it's almost.
Another way to find the IP address is to use a network scanning tool on your main computer. Programs like Angry IP Scanner or Fing can look at all the devices on your network and list their IP addresses. You just run the program, and it does the work for you. This can be quicker if you do not want to log into your router. These tools are pretty straightforward to use, and they give you the information you need in a clear way. It is a good option if you want to find the address quickly, you know.
If you have a screen connected to your Raspberry Pi, even just for a moment, you can also find its IP address right on the Pi itself. Just open a terminal window on the Pi and type the command `hostname -I` (that's a capital 'i'). The Pi will then show you its IP address. This is probably the most direct way if you have physical access to the Pi and a screen. It is a simple command, and it gives you the number right away. So, no matter how your setup is, there is a way to get that IP address, which is good, as a matter of fact.
How Can You Securely Access Your Pi?
When you connect to your Raspberry Pi, you want to make sure no one else can peek at what you are doing. This is where security comes in. The main way people make a secure connection is by using something called SSH, which stands for Secure Shell. Think of SSH as a private, locked tunnel between your main computer and your Raspberry Pi. Anything you send through this tunnel, like commands or passwords, is scrambled up, so if someone tries to listen in, they will only hear gibberish. This keeps your information safe, you know.
SSH is built into most Raspberry Pi operating systems, but you might need to turn it on. It is usually off by default for safety reasons. Turning it on is a simple step, often done through a special settings tool on the Pi itself, or by creating a small file on the Pi's memory card before you even start it up. Once SSH is active, you can use a program on your main computer to open that secure tunnel. This program is often called an SSH client, and many computers already have one built in, so.
Using SSH means you do not have to worry about people seeing your username and password as you type them. It also means that any files you move back and forth are protected. This is really important if your Pi holds any personal information or if it controls something important in your home. Without SSH, your connection would be like talking in a public square, where anyone could hear. With SSH, it is like having a private chat in a soundproof room, which is pretty nice, if you ask me.
Beyond just turning on SSH, there are other ways to make your connection even more secure. You can change the default password on your Raspberry Pi, which is a very good idea. You can also set up something called SSH keys, which are like super-strong digital locks that are much harder to break than a password. These extra steps add layers of protection, making it much tougher for anyone to get into your Pi without your permission. It is all about making sure your little computer stays your own, basically.
Setting Up a Secure Connection to Your Raspberry Pi
Setting up a secure connection to your Raspberry Pi mainly involves getting SSH ready on both ends. First, on your Raspberry Pi, you need to make sure SSH is enabled. If you are using the graphical desktop on your Pi, you can go to the Raspberry Pi Configuration tool, then to Interfaces, and turn SSH on there. It is a simple click, really. If you are setting up a Pi without a screen, you can put a blank file named `ssh` (no file extension) into the boot partition of the SD card before you put it in the Pi. This tells the Pi to turn on SSH when it starts up, which is pretty handy, you know.
Once SSH is active on your Pi, you need a way to talk to it from your main computer. If you use a computer with Windows, you might need a program like PuTTY. This program helps you open an SSH connection. You just type in your Pi's IP address and hit connect. If you use a Mac or a Linux computer, SSH is usually built right into the terminal application. You just open the terminal and type a command like `ssh pi@your_pi_ip_address`, replacing the example IP with your Pi's actual address. It is surprisingly simple, really.
When you first connect using SSH, your computer might ask you to confirm that you trust the Pi. This is a safety check. You usually type 'yes' to continue. Then, it will ask for your username and password for the Pi. The default username is often 'pi', and the default password is 'raspberry'. It is a really good idea to change this default password right away after your first successful connection. This makes your Pi much safer, as those default details are widely known. This step is quite important, honestly.
After you put in your username and password, you will see a command line prompt. This means you are now connected to your Raspberry Pi. You can type commands, and the Pi will follow them. This secure tunnel means everything you do is private. You can manage files, install programs, or check on your Pi's status, all from your main computer. This setup gives you a lot of control, and it keeps your Pi safe from unwanted access, which is something you definitely want, basically.
What Tools Help Make a Direct Connection?
Making a direct connection to your Raspberry Pi relies on a few key tools, both on your main computer and sometimes on the Pi itself. The most important tool is the SSH client. As mentioned, for Windows users, PuTTY is a very popular choice. It is a small program that lets you type in the IP address of your Pi and then opens that secure connection. It is quite easy to use, even if you are new to this kind of thing. You just download it, run it, and you are pretty much ready to go, you know.
For people using macOS or Linux, the SSH client is already part of the system. You do not need to download anything extra. You just open the Terminal app, which is where you type commands directly to your computer. From there, you use a simple command like `ssh username@ip_address` to connect. This built-in tool is very convenient and works well. It is one of those things that just makes life a little easier, so.
Beyond just SSH for typing commands, there are tools for moving files. If you need to copy files to or from your Raspberry Pi, you can use programs that work with something called SFTP (SSH File Transfer Protocol). For Windows, WinSCP is a great choice. It gives you a visual way to drag and drop files, just like you would on your regular computer. For Mac and Linux, you can often use `scp` commands in the terminal, or a graphical SFTP client like FileZilla. These tools make managing your Pi's files a breeze, which is rather nice.
Sometimes, you might want to see the graphical desktop of your Raspberry Pi, not just the command line. For this, tools like VNC Viewer come in handy. VNC creates a remote desktop connection, letting you see and control the Pi's screen as if you were sitting right in front of it. You install a VNC server on your Pi and a VNC client on your main computer. This is useful for tasks that are easier with a mouse and a visual interface. It is like having your Pi's screen right on your main monitor, which is pretty cool, if you ask me.
Keeping Your Raspberry Pi Connection Safe
Keeping your Raspberry Pi connection safe is really important, especially since you are connecting directly to its IP address. One of the first things you should do is change the default password. Most Raspberry Pi setups come with a common username like 'pi' and a common password like 'raspberry'. Everyone knows these, so it is like leaving your front door unlocked. Changing this to something unique and hard to guess is a very simple but effective step. Make sure your new password is a mix of letters, numbers, and symbols, and that it is long enough. This is a basic but absolutely necessary step, honestly.
Another way to boost safety is to use SSH keys instead of passwords. Think of SSH keys as a super-strong, digital key and lock set. You create a pair of these keys: one stays on your main computer (the private key), and the other goes on your Raspberry Pi (the public key). When you try to connect, your main computer sends a challenge to the Pi, and the Pi uses its public key to check if your private key is the right one. It is much harder for someone to guess or steal an SSH key than a password. This method provides a much stronger layer of security, so.
You can also limit who can connect to your Raspberry Pi. For instance, you can set up your Pi so that only certain users are allowed to connect via SSH. You might even disable password logins entirely once you have SSH keys set up. This means even if someone guesses your password, they still cannot get in without the correct SSH key. This adds an extra barrier, making it much tougher for unwanted visitors to get access to your Pi. It is all about making it harder for the wrong people to get in, basically.
Finally, keeping your Raspberry Pi's software up to date is a good habit. Software updates often include fixes for security issues. Running commands like `sudo apt update` and `sudo apt upgrade` on your Pi regularly helps make sure your system has the latest protections. It is like getting new, stronger locks for your house when they become available. Staying updated helps keep your Pi safe from newly discovered weaknesses. This simple habit goes a long way in maintaining a secure connection, you know.
Is Direct Access Always the Best Way?
While connecting directly to your Raspberry Pi's IP address is often very convenient and fast, it is not always the only way, or even the best way, for every situation. For example, if your Raspberry Pi is going to be out in the open internet, not just on your home network, then directly exposing its IP address can be risky. When your Pi is on the open internet, it means anyone in the world could potentially try to connect to it. This increases the chances of someone trying to get in without your permission. So, for things that need to be accessed from anywhere, direct IP access might need extra layers of protection, you know.
For home use, where your Pi is behind your router's firewall, direct IP access is generally quite safe. Your router acts like a guard, stopping most outside attempts to connect to your devices. However, if you set up something called "port forwarding" on your router to access your Pi from outside your home, you are essentially opening a door through that guard. This needs to be done very carefully, with strong security measures in place on your Pi, like those SSH keys and good passwords we talked about. It is a bit like making a small opening in your wall for a specific purpose, which is fine, but you need to make sure it is still secure, so.
There are also other ways to access your Pi that do not involve direct IP connection. Services like VPNs (Virtual Private Networks) or cloud services can give you a secure way to reach your Pi from anywhere without exposing its IP address directly to the internet. A VPN creates a secure tunnel from your device to your home network, making it seem like you are physically at home. Cloud services can let your Pi send data to a web platform, which
- Victoria Beckham Father
- Goonies Actors That Died
- Pharrell Williams Triplets Names And Gender
- Drake Video Unfiltered X Twitter
- What Is Gojos Surname
6 Ways to Find a Raspberry Pi's IP Address
How to Directly Connect to a Raspberry Pi Without Internet
How Do I Set a Static IP Address on Raspberry Pi?
